
After purchasing an OLAhome DNS package, you will receive a personalized DNS by email, in the format abcd.olahomedns.eu.
The DNS is active immediately.
For iPhone and iPad, manual setup in apps is no longer required. You will receive a .mobileconfig configuration file by email, prepared specifically for your device.
Done. DNS is now active on your iPhone.
You will receive the Stubby_DNS.zip archive by email.
Extract it to C:\Stubby.
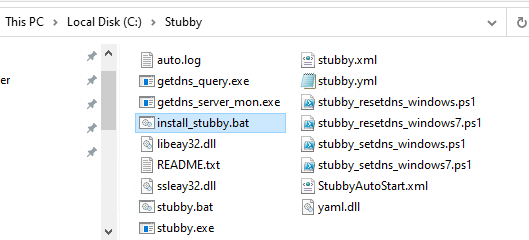
Step 1: Open the C:\Stubby folder
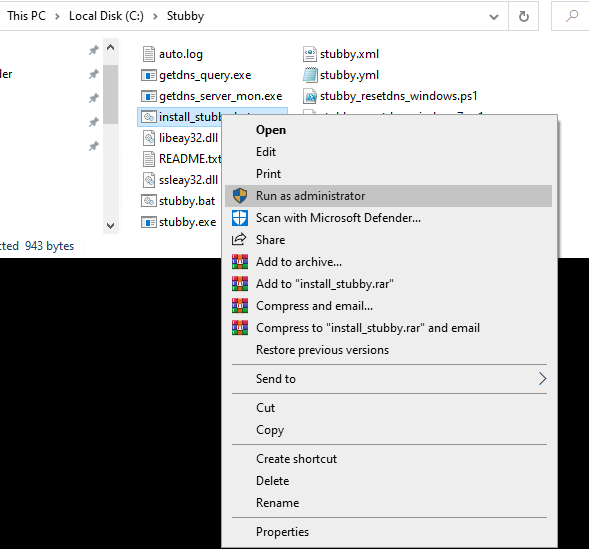
Step 2: Right-click install_stubby.bat → Run as administrator
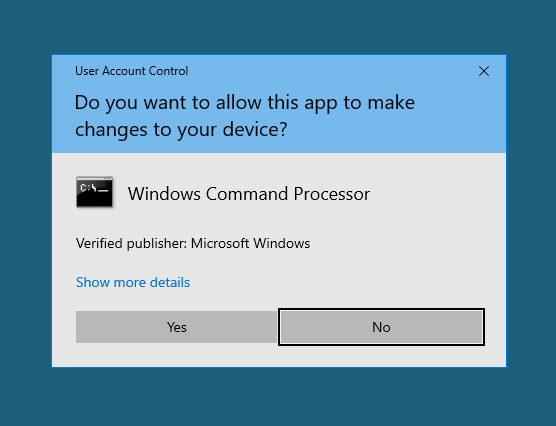
Step 3: Confirm the UAC prompt
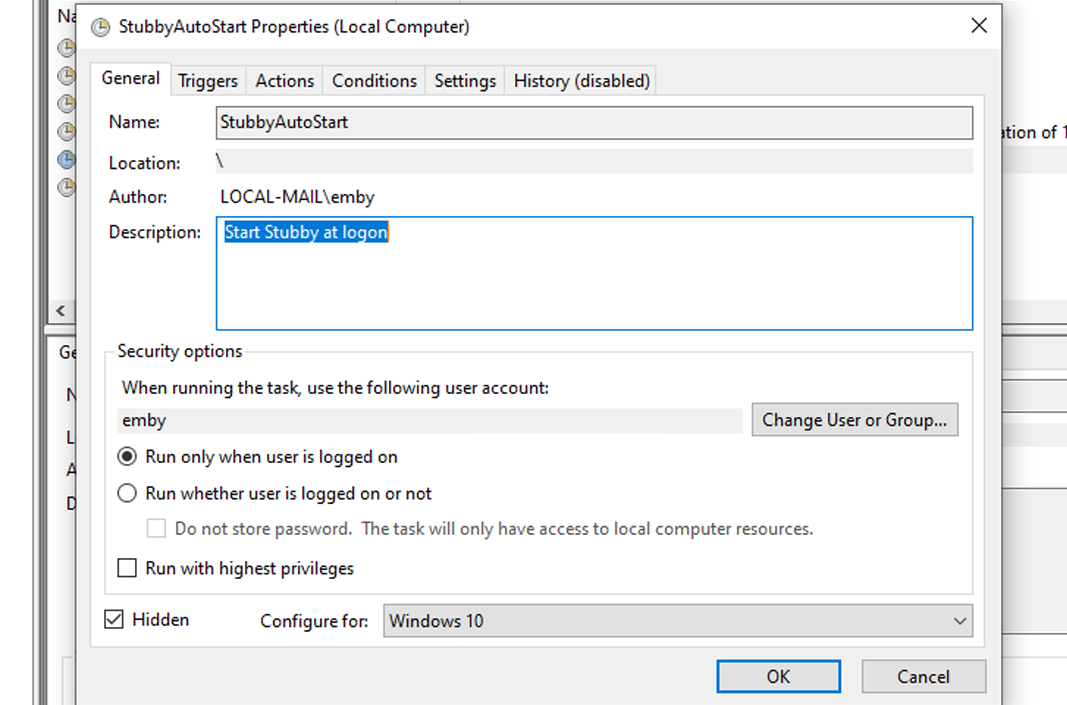
Step 4: The StubbyAutoStart task is created
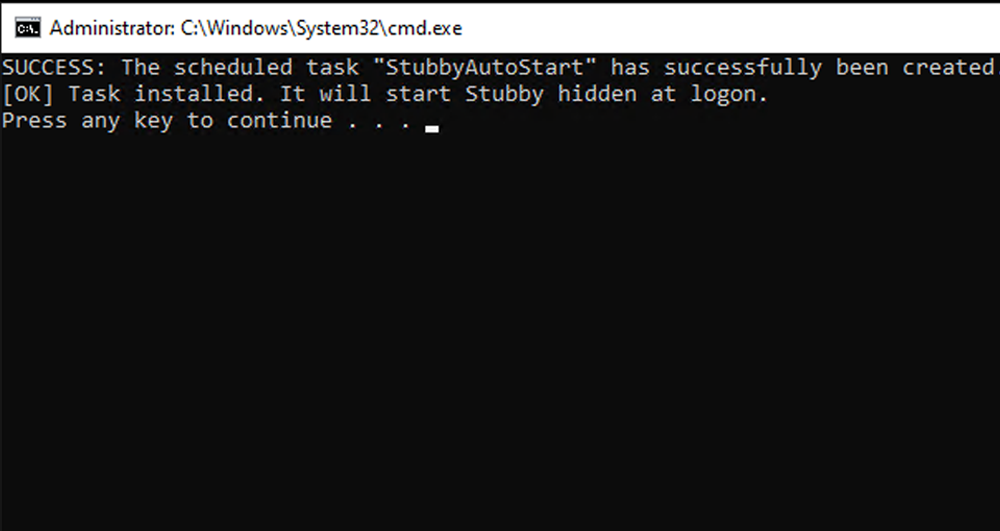
Step 5: Restart your computer
Done. DNS will start automatically at every boot.